
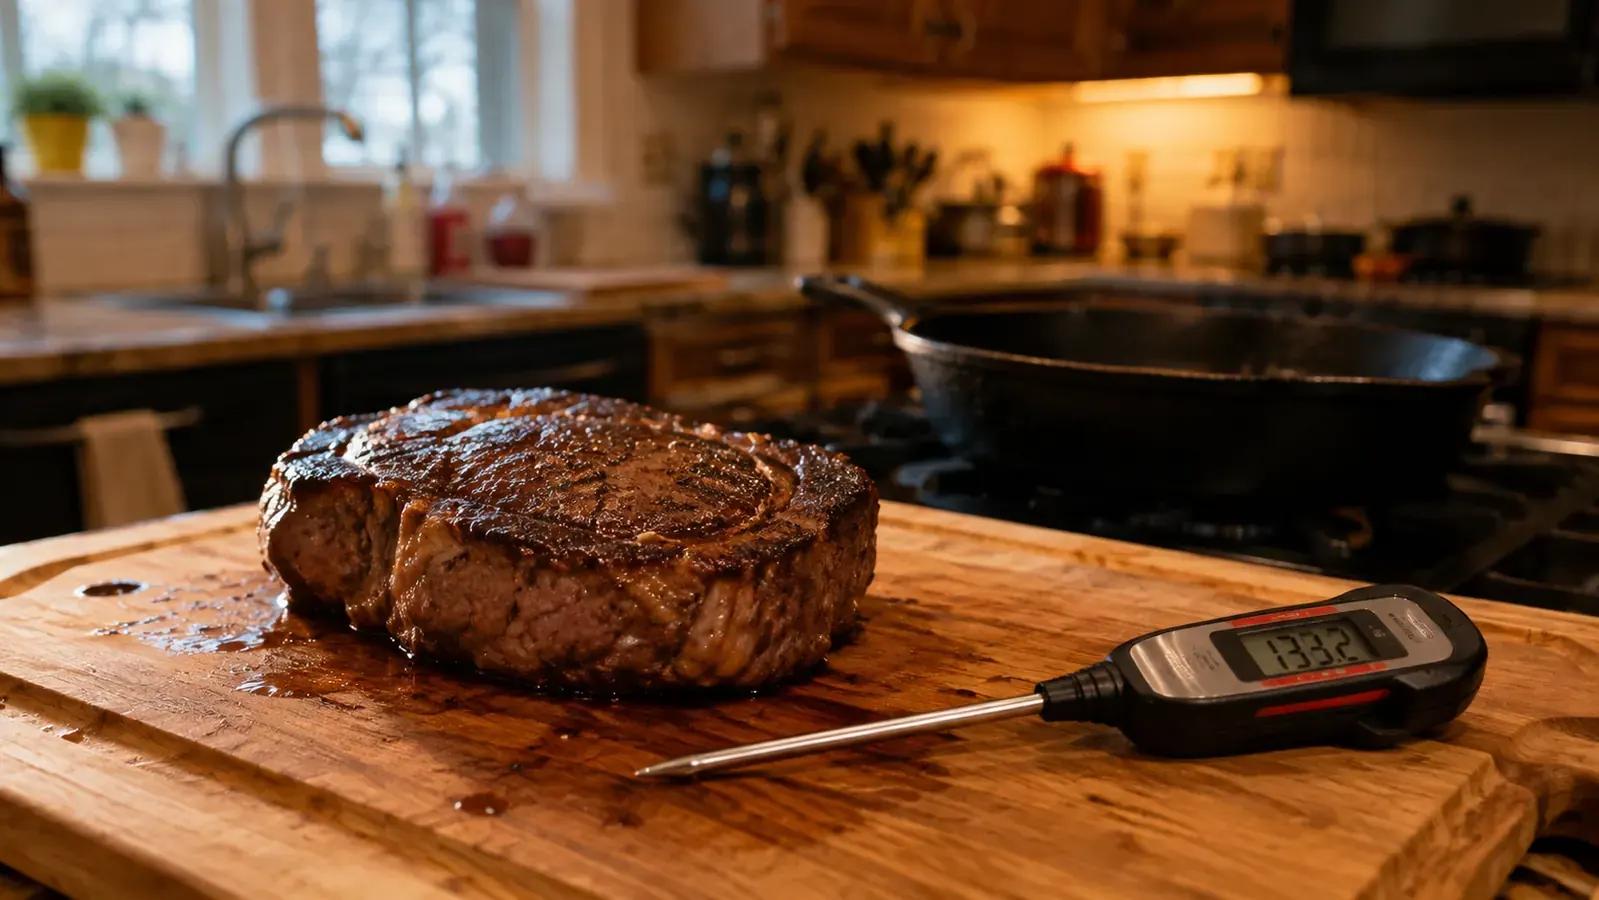
An instant read meat thermometer is the entire fix here, and it takes about three seconds to use. For a long time I overcooked steak more often than I got it right, and it had nothing to do with the cut of meat or the pan I was using. I was guessing. I'd press the center with a finger and compare it to some mental chart I half remembered, or I'd cut it open early to peek, which just let the juice run out onto the cutting board before the steak ever made it to a plate. Guessing at doneness with a poke or a clock is exactly how you end up serving a well done steak on a night you were aiming for medium rare, and it's the single most common reason home cooked steak disappoints compared to what you'd get at a restaurant.
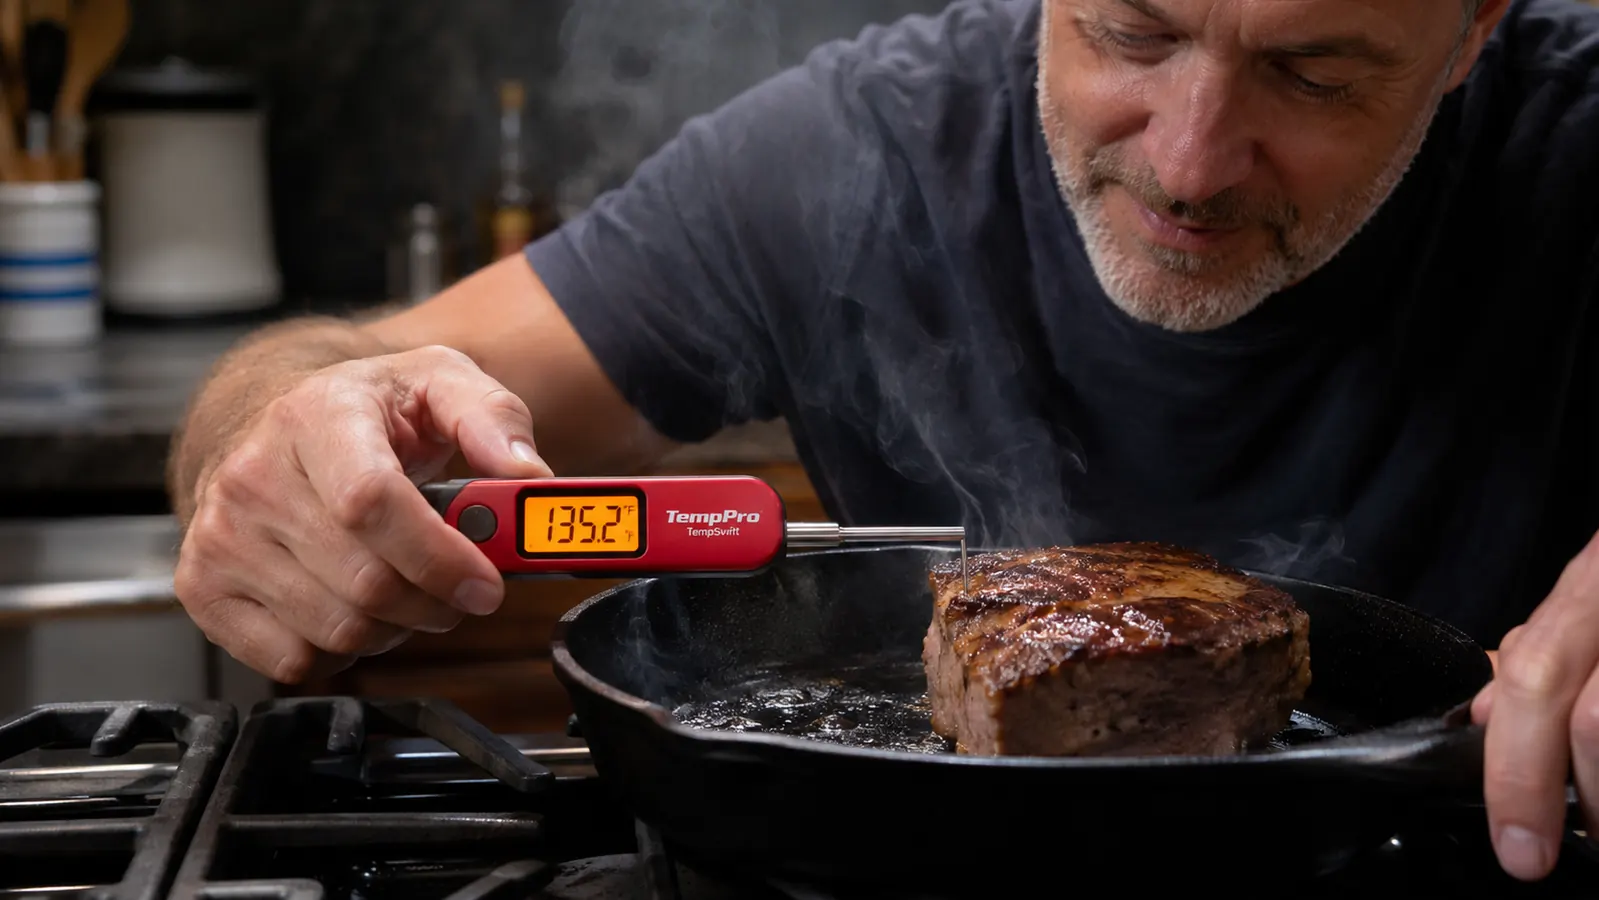
The thing that actually fixed it for me wasn't a better cut of beef or a hotter grill. It was an instant read meat thermometer, specifically the TempPro TempSwift I now keep in the same drawer as my spatulas and tongs. What follows is the exact system I use every time I cook a steak, from pulling it out of the fridge to reading the final internal temperature before it hits the plate, including where the target numbers actually come from and where personal preference and food safety are two different things.
Stop guessing at doneness with a finger poke and a prayer
A thermometer is the one tool that turns steak night from a gamble into something repeatable. This is the instant read model I keep within arm's reach of the stove.
Amazon Check Today's Price on Amazon →Step 1: Take the steak out early and season it before it goes anywhere near heat
I pull the steak out of the fridge thirty to forty minutes before I plan to cook it and let it sit on the counter, loosely covered. A steak that goes into a hot pan straight from the fridge sears unevenly, the outside can be nearly done before the cold center has moved at all, and that gap is part of why so many home cooked steaks end up gray and overcooked in the middle by the time the surface finally looks right.
While it's coming up to temperature, I pat it completely dry with a paper towel on both sides. A wet surface steams instead of browning, and browning is what actually builds flavor, not the seasoning alone. Then I season generously with salt and pepper, more than feels natural the first few times you do it, and let that sit on the surface while the steak finishes tempering on the counter.
None of this step involves the TempPro thermometer yet. It's just setup, but it's the setup that determines whether the thermometer reading later actually means anything. A steak that sears unevenly because it started ice cold in the center will give you a confusing readout no matter how good the tool is, since one side of the steak can genuinely be a different internal temperature than the other for the first several minutes of cooking.
Step 2: Get the pan or grill properly hot before the steak touches it
I use a cast iron skillet most nights, though a heavy stainless pan works too. I let it heat over medium high for a few minutes with a thin layer of oil, until the oil is shimmering and just barely starting to show the first wisps of smoke. If you're grilling, that means preheating with the lid closed for ten to fifteen minutes rather than tossing the steak on the moment you see flame.
This step is easy to rush, and rushing it is one of the biggest reasons a steak comes out gray and steamed instead of browned and crusted. A properly hot surface is what gives you a real sear in two to three minutes per side. A lukewarm one gives you a pale, sweaty steak that takes twice as long to cook through and never develops much crust at all, which then makes it harder to judge doneness by anything other than the TempPro thermometer, because you lose the usual visual cues a good crust normally gives you.
Step 3: Sear both sides hard, then drop to lower, more even heat
I sear the steak two to three minutes per side undisturbed, no flipping back and forth, no pressing it down with the spatula. Once both sides have a real crust, I either lower the stovetop heat or move the steak to the cooler side of the grill and let it finish cooking through more gently. On a thick steak, over an inch and a half, I'll sometimes finish it in a 375 degree oven instead, still in the same skillet, which gives the center more even heat than a hot burner alone.
This is roughly the point where a clock stops being useful and the TempPro thermometer starts to matter. Cook time varies with the exact thickness of the cut, how cold the center still is, how hot your specific stove actually runs, and even the shape of the pan. Two steaks that look identical on the outside can be five or ten degrees apart on the inside. That's the gap a thermometer closes and a timer never will, no matter how many times you've cooked steak before.
Step 4: Know what temperature you're actually aiming for, and where that number comes from
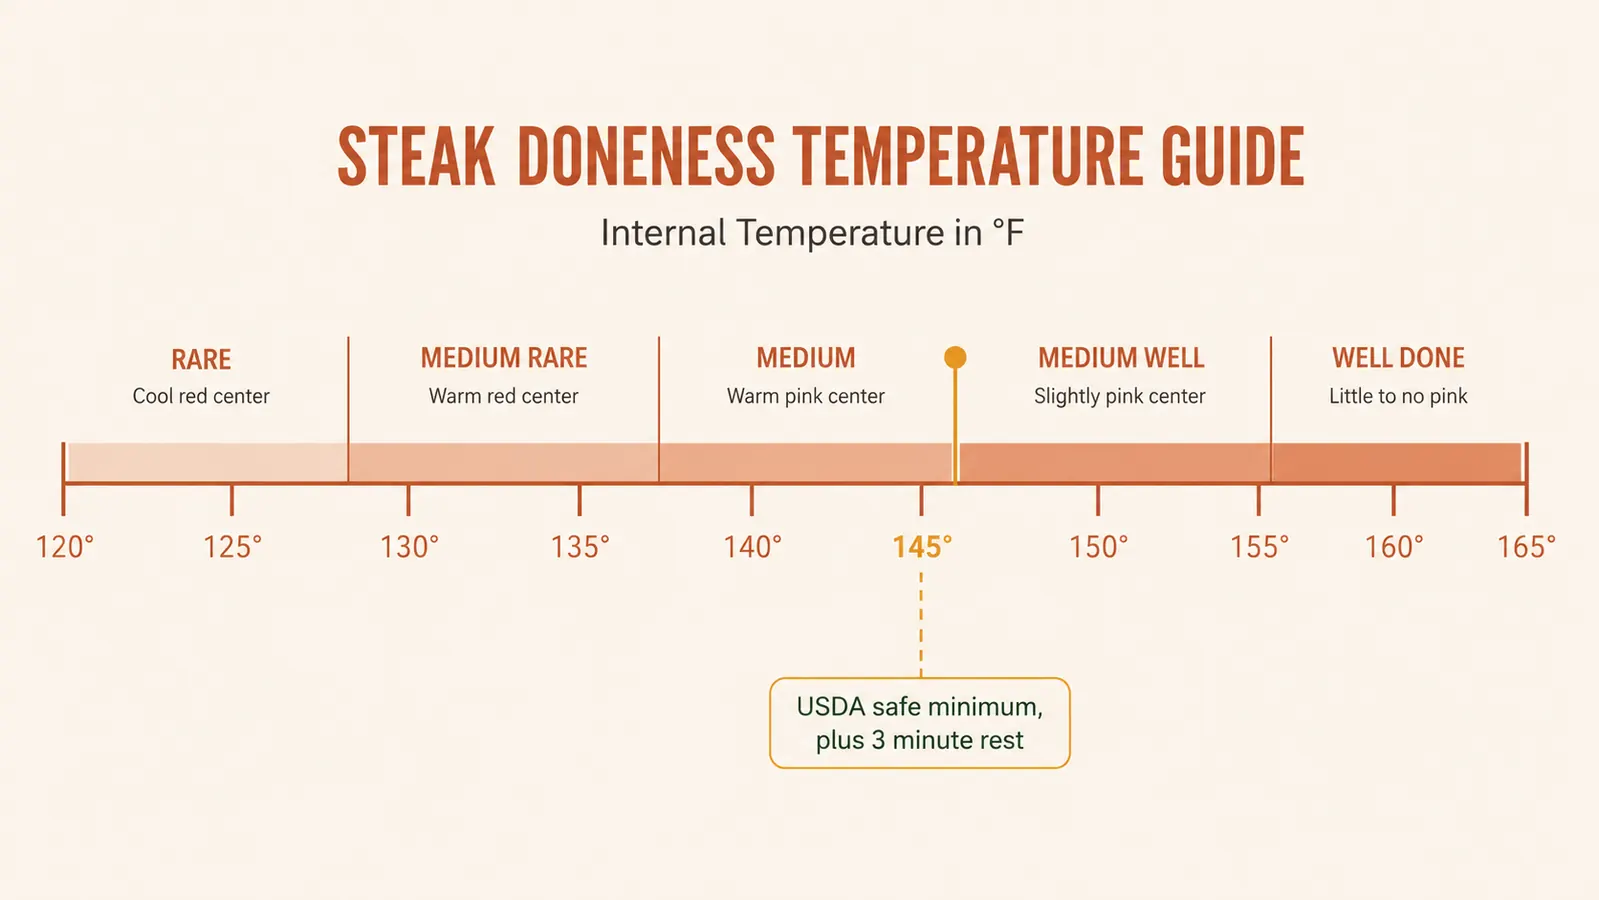
This is the part worth slowing down for, because doneness and food safety are two related but different conversations, and it's easy to blur them together. The USDA's safe minimum internal temperature for whole cuts of beef, which includes steak, is 145 degrees Fahrenheit, followed by a 3 minute rest before cutting or serving. That's a food safety guideline, not a flavor preference, and it comes directly from the USDA, not from a cookbook or a chef's personal taste.
Separately from that, there's a whole range of doneness preferences that home cooks and restaurants commonly reference: rare around 125 to 130 degrees, medium rare around 130 to 135, medium around 140 to 145, medium well around 150 to 155, and well done at 160 and above. I want to be very clear that these are doneness preferences, not safety guidance, and several of them sit below the USDA's 145 degree minimum. Cooking a steak to a lower temperature to hit a preferred doneness like rare or medium rare does carry some degree of added risk compared to cooking it to the USDA minimum, and that tradeoff matters more for anyone who is pregnant, very young, elderly, or immunocompromised. It's a personal and situational decision, not something I can make for you, and this thermometer doesn't remove that risk, it just tells you accurately where your steak actually is so you can make an informed choice instead of a blind one.
I'll be honest about my own habits here since this is a first person account and not a medical recommendation: most nights, cooking for adults in my own household, I aim for medium rare. When I'm cooking for anyone in one of those higher risk groups, or when I'm just not sure, I cook to the USDA's 145 degree minimum with the full rest instead. That's a decision every household has to make on its own, with real information rather than a guess, and it's worth having that conversation at the table before the steak ever hits the pan, not after.
Step 5: Insert the probe correctly and read it before you decide anything
How you place the probe matters almost as much as owning a thermometer in the first place. I insert it horizontally into the side of the steak, aiming for the thickest part, and I try to avoid hitting the pan, a pocket of fat, or bone if the cut has any. Any of those will throw the reading off, sometimes by a lot, and give you a number that has nothing to do with the actual meat around it.
With the TempSwift specifically, the backlit display is the feature I use most, especially outside at the grill after the sun's gone down, when reading a dim, non-backlit display usually means squinting at it under a phone flashlight held awkwardly in your other hand. I take the reading, pull the probe back out, and move on rather than leaving it stuck in the steak while it keeps cooking, since that's one more thing that can throw a reading off on a later check. On a very thick steak I'll check two spots, the thickest part and a spot closer to the edge, just to get a sense of how even the cooking actually is before I decide the steak is close.
The technique piece almost nobody talks about is carryover cooking. A steak's internal temperature keeps climbing for a few minutes after it comes off the heat, because the outer layers are hotter than the center and that heat keeps migrating inward even once the pan is off the stove. If you wait to pull the steak until the thermometer hits your exact target number, it will overshoot that number by the time you actually cut into it. The fix is to pull the steak a few degrees before your target reading and let the rest do the rest of the work. This is the actual technique, more than the thermometer itself, that separates a steak that lands exactly where you wanted from one that's a little further done than you planned, and it took me longer to learn than picking the right thermometer did.
I go into more detail on how consistent this has been for me across dozens of steaks over several months in my longer notes on using this thermometer regularly, including a few times the reading surprised me in a good way and saved a cut I would have otherwise pulled too early.
What Else Helps
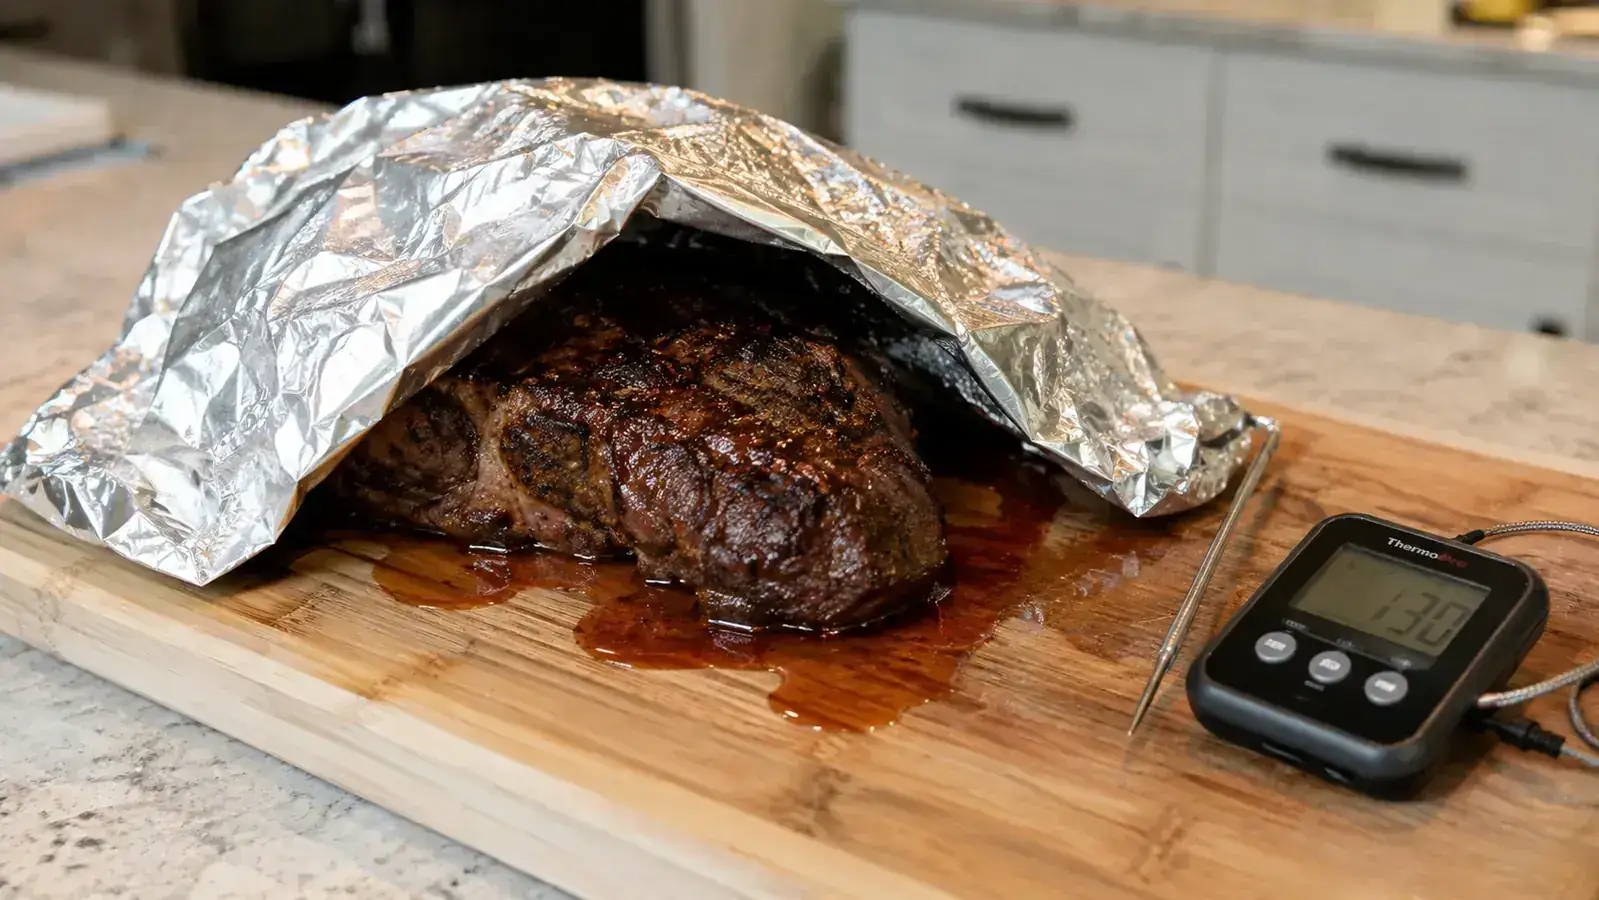
A thermometer solves the doneness problem, but it isn't the only tool doing work here. Letting the steak rest for a full 3 minutes minimum after cooking, tented loosely with foil, is what keeps the juices inside the meat instead of pooling out onto the cutting board the second you slice it. Cutting into a steak the moment it comes off the heat undoes a lot of what the thermometer just got you right, since the juices haven't had time to redistribute back through the meat yet.
A cutting board with a juice groove is a small thing that saves a real mess on a wood counter or a favorite board. And if you're deciding between an instant read thermometer and the pop-up timers that come built into some cuts of meat and poultry, I laid out the real differences in this comparison of the two approaches, since pop-up timers work fine for some things and are genuinely unreliable for a pan seared steak, which almost never comes with one built in anyway.
A heavy pan, whether cast iron or a thick stainless clad skillet, still matters more than people expect. A thin, light pan loses heat the moment the cold steak hits it, which undercuts the sear no matter how accurately you're reading the internal temperature afterward. The thermometer tells you when the steak is done. The pan is still what determines whether the outside of it is any good, and no amount of accurate temperature reading fixes a steak that never developed a real crust in the first place.
The thermometer didn't make me a better cook. It just stopped me from guessing at the one number that actually decides whether dinner is a good steak or a ruined one.
The difference between a guess and a number you can trust
Every step above works with any instant read thermometer. This is the one that's been in my kitchen drawer for the long haul, backlit display and all.
Amazon Check Today's Price on Amazon →