
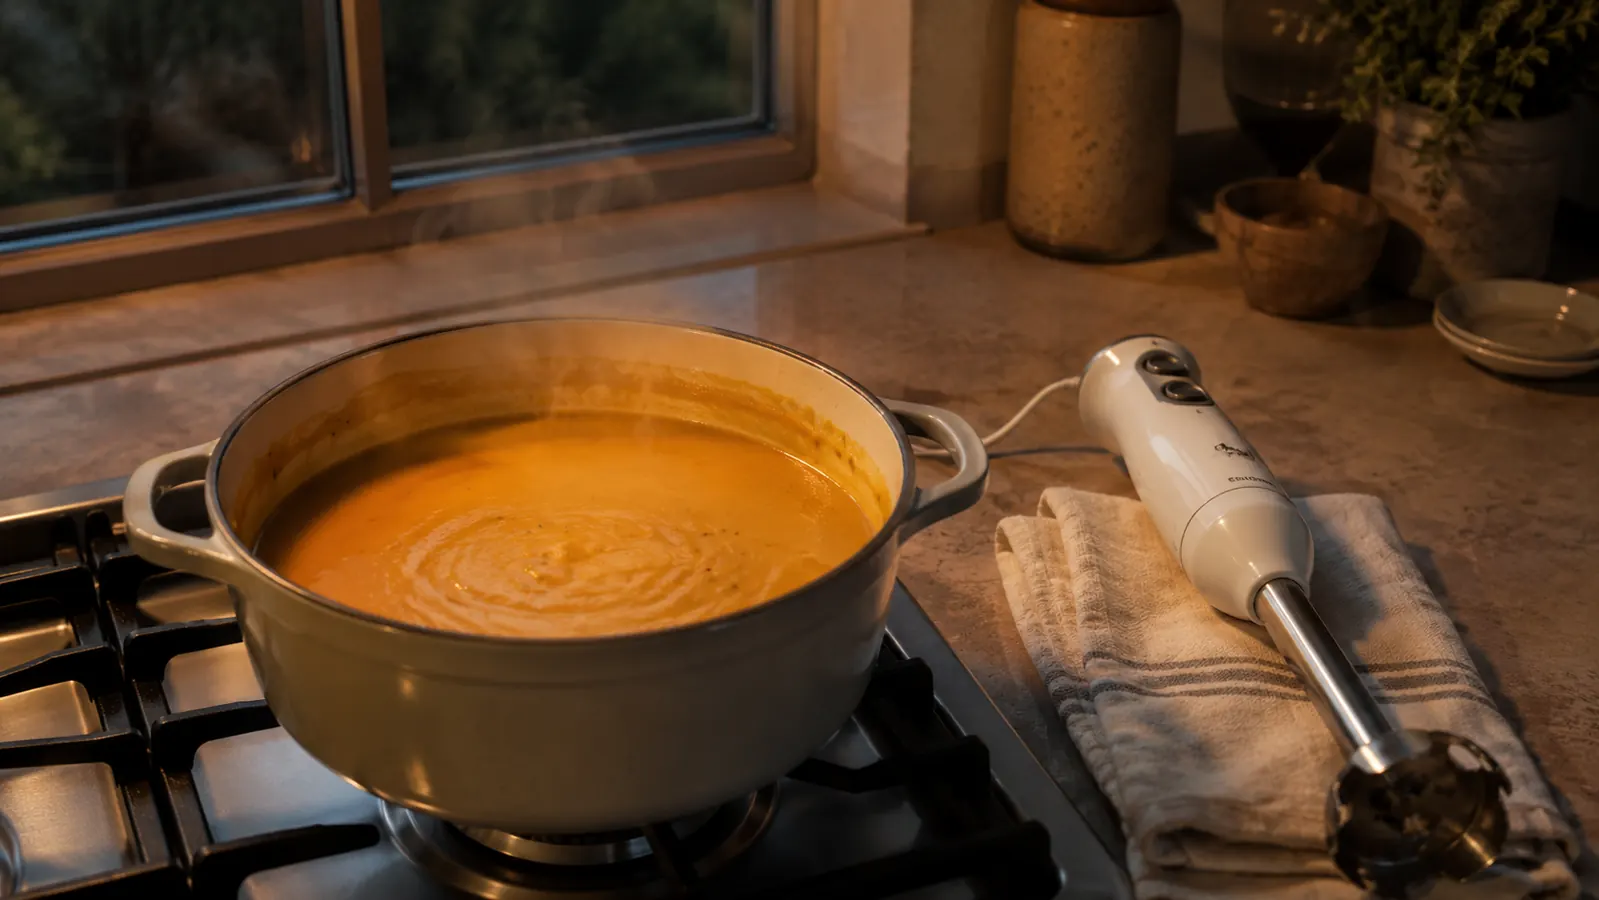
Getting soup truly smooth is an immersion blender job. Chunky soup is fine. Silky, restaurant-style smooth soup is a different animal, and for years I got there the hard way, ladling scalding butternut squash or potato-leek soup into a countertop blender in batches and holding the lid down with a towel because steam builds pressure and can blow the top off if you're not careful. I've had soup on my ceiling. Once you switch to blending directly in the pot with a hand blender, you stop dreading the step that used to make me put off soup night altogether.
An immersion blender, also called a stick blender or hand blender, does the whole job in the same pot you cooked in. No transferring hot liquid, no second appliance taking up a third of your dish rack, no dishes beyond the pot and the blender shaft itself. I use my Cuisinart Smart Stick for this more than any other kitchen gadget I own, mostly because soup is the one thing I make almost weekly from October through March. This guide walks through the five steps that actually get you to smooth, plus the mistakes that leave soup grainy, splattered on the stove, or thinner than you wanted.
None of this requires any special skill, and it isn't restaurant technique borrowed from culinary school. It's just the order of operations I settled into after enough trial and error, cooling the pot before I blend, keeping the blade under the surface, and giving the Cuisinart blender enough time to actually finish the job instead of pulling it out the moment the worst lumps disappear. If you've only ever used a countertop blender for soup, or you've tried a hand blender once and ended up with splatter on the backsplash, the fix is usually one of the five steps below, not a better blender or a fussier recipe.
Stop Ladling Hot Soup Into a Blender
The Cuisinart hand blender purees right in the pot you already cooked in. Less mess, less risk of a steam surprise, one less appliance to wash.
Amazon Check Today's Price on Amazon →Step 1: Cook the Vegetables Until a Fork Goes In With No Resistance
Smooth soup starts before the Cuisinart blender ever touches the pot. If your onions, carrots, potatoes, or squash aren't fully cooked, no amount of blending gets rid of the grit and small chunks, it just spreads them around finer. Simmer your vegetables in broth or water until a fork slides in with basically no resistance, usually 20 to 30 minutes depending on how big you cut them. Cutting vegetables into roughly even, smaller pieces, about 1 to 1.5 inches, before they go in the pot cuts your simmer time and gives you a more even texture once you blend.
This is also where I decide how thick I want the final soup. If I'm short on liquid I add a bit more broth now, before blending, rather than after. It's much easier to thin a soup down at the end than to thicken one that turned out watery, so I'd rather start slightly thick and adjust with a splash of broth or cream once everything is pureed.
Different vegetables cook at different rates, so if a recipe calls for a mix, add the slower ones first. Carrots and potatoes need real time, celery and onions soften much faster, and if everything goes into the pot at once you'll end up blending a batch where half the vegetables are perfectly tender and the other half are still slightly firm. That unevenness is one of the most common reasons a blended soup still has faint texture even after a full minute with the blender running.
Step 2: Take the Pot Off the Heat and Let It Cool for a Few Minutes
This step gets skipped more than any other, and it's the one that actually matters for safety. Soup straight off a rolling boil is well over 200 degrees, and blending it while it's that hot sends steam and hot droplets up and out, sometimes onto your hand or forearm. I turn the burner off and let the pot sit for 5 to 10 minutes before I pick up the blender. It doesn't need to cool all the way, just enough that it's not actively steaming when you tilt the pot.
If you're in a hurry, cracking the pot lid partway during those few minutes speeds the cooling along without losing much heat overall. I've learned this one the hard way, an early attempt at leek and potato soup left a mark on my forearm that lasted a week, and it was entirely avoidable.
This waiting period is also a good time to stage everything else you'll need, a ladle for tasting, whatever cream or garnish is going in at the end, and a towel nearby for wiping the shaft between passes if you're blending in batches. I keep the blender's power cord well clear of the stovetop during this window too, since it's easy to forget it's there once you're focused on the pot.
Step 3: Submerge the Blade Fully Before You Turn It On
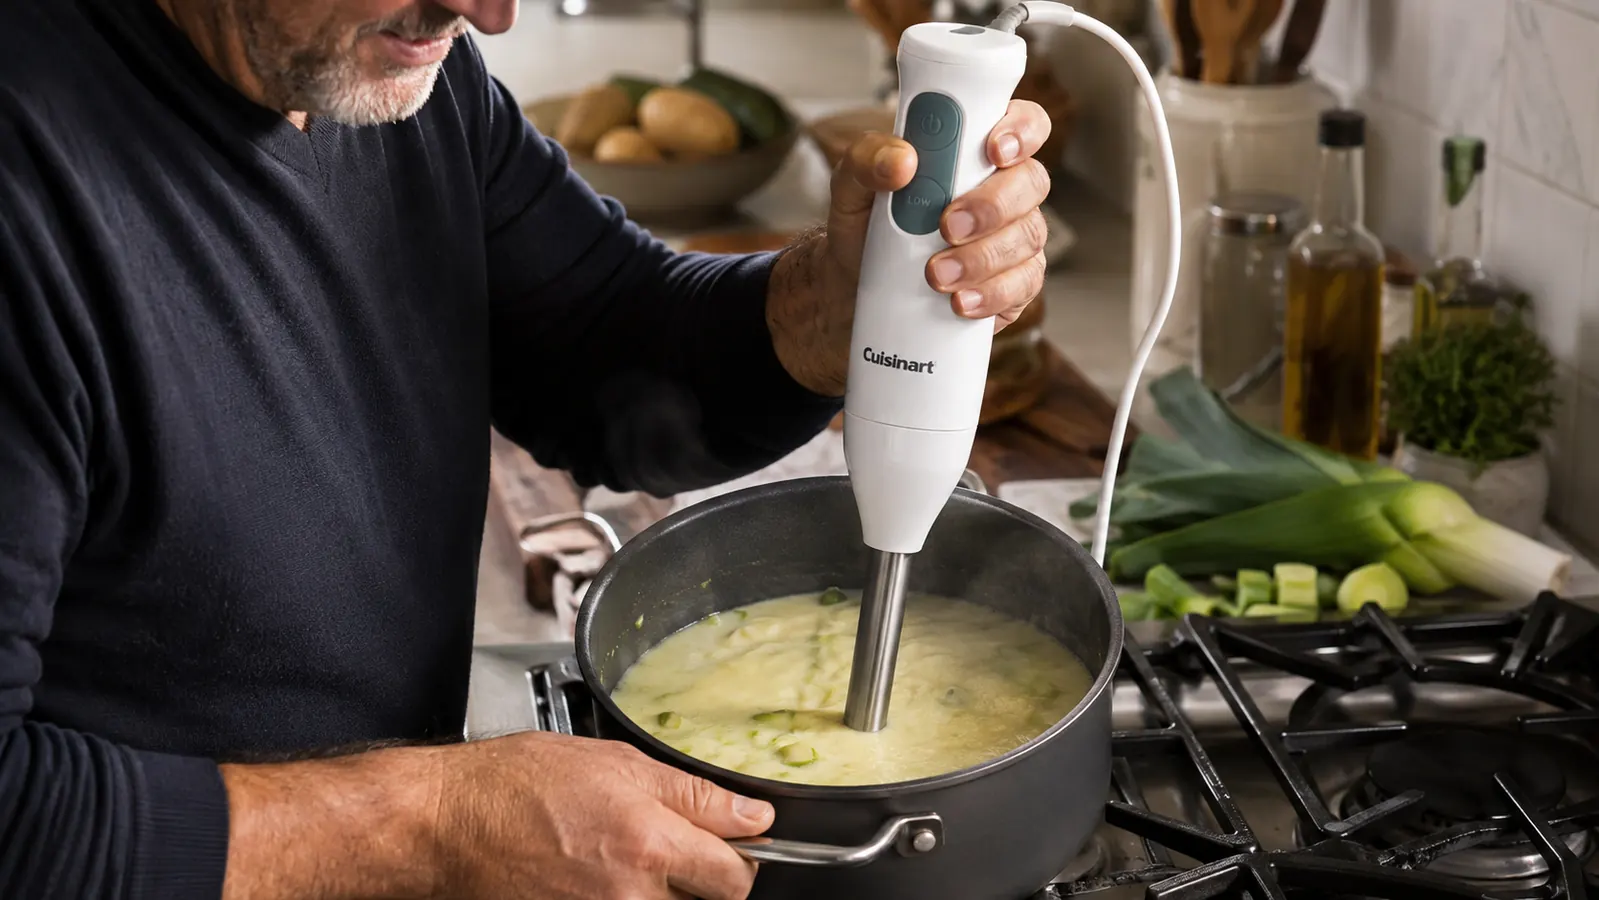
This is the single biggest technique fix for splatter. Lower the blender shaft all the way into the soup so the blade is completely under the surface before you press the power button, not while it's still going in. If you switch it on with the blade half out of the liquid, soup sprays straight up and out of the pot, usually onto the stovetop, the backsplash, and whatever shirt you're wearing. Keep the blade submerged the entire time it's running. If you need to move it to a different part of the pot, tilt the blender toward that spot rather than lifting it toward the surface.
Tilting the pot itself helps too, especially toward the end when there's less liquid left to fully cover the blade. Prop the pot at a slight angle, a folded towel under one side works, so the soup pools deeper on one side, and work the blender through that pool instead of chasing thin puddles around a flat pot bottom. This matters more than it sounds like it would, a pot with only an inch of liquid left is exactly when the blade is most likely to break the surface and splatter.
It also helps to start the blender at the bottom of the pot rather than right at the surface. Lower it all the way down, turn it on, and only then ease it upward slightly while keeping the blade well below the surface line. That downward-first habit is the single easiest thing to change if splatter has been your main complaint with a hand blender in the past.

Step 4: Move the Blender in Slow Circles and Work Section by Section
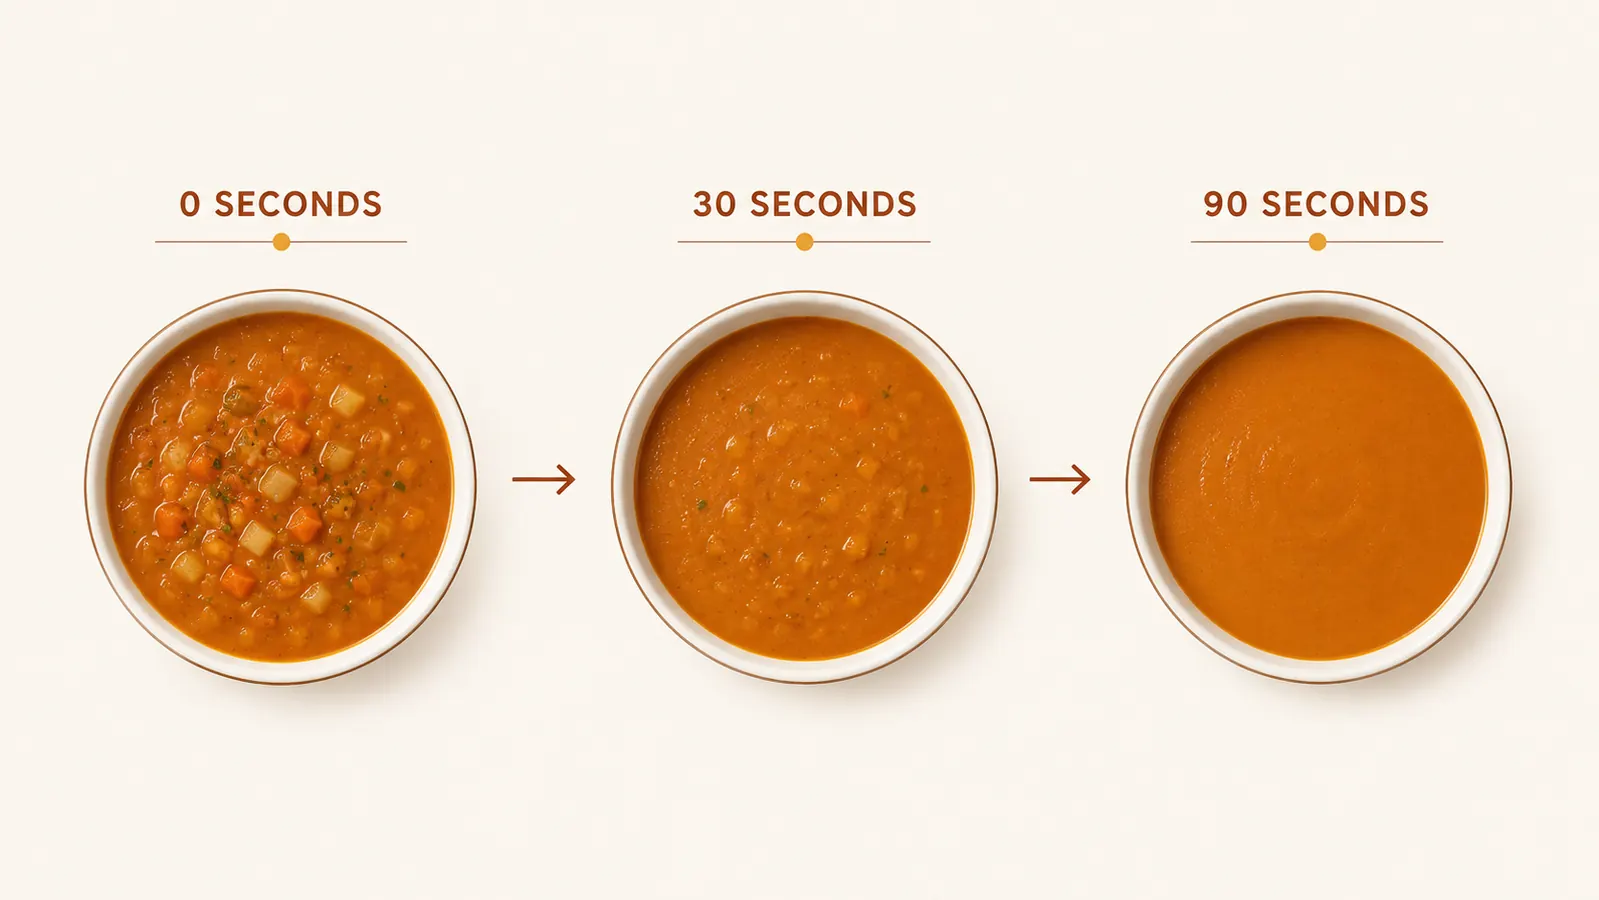
Don't just hold the blender in one spot and expect the whole pot to go smooth. Move it in slow, deliberate up-and-down and circular motions, working through one section of the pot before shifting to the next. This pulls chunks toward the blade instead of leaving pockets of unblended vegetables sitting untouched at the edges of the pot, which is the most common reason soup comes out smooth in the middle and lumpy around the rim. My Cuisinart has two speeds, and I start on low to break up the big pieces before switching to high for the final pass.
Give it real time. Most soups need a full 60 to 90 seconds of blending to go from chunky to genuinely silky, not the 15-second burst it's tempting to stop at. If you're still seeing small flecks after a minute, keep going rather than deciding the soup is done enough. For soups with fibrous vegetables like celery, or the strings in some squash varieties, a longer blend matters more than a stronger blender, patience closes the gap between an okay blend and a genuinely smooth one.
Working the rim of the pot last, once the middle is already smooth, tends to give the most even result overall. I do a slow pass around the entire perimeter at the end of blending specifically to catch anything that settled or clung to the pot wall while the center was getting blended. It only adds a few seconds, and it's usually the difference between a soup that looks perfectly smooth and one that has a stray fleck of carrot or onion peeking through near the edge of the bowl.
Step 5: Finish, Season, and Unplug Before You Clean Up
Once the soup is smooth, this is when I stir in cream, coconut milk, a pat of butter, or a swirl of olive oil, off the heat or on very low heat so it doesn't separate. Taste and re-season now, blending mutes salt and pepper slightly, so a soup that tasted right before pureeing often needs a small adjustment after. If the soup turned out thicker than you want, whisk in warm broth a quarter cup at a time until it loosens to where you want it.
Always unplug the blender, or at minimum switch it fully off and set it down, before you rinse the shaft or swap attachments. Keep your hand away from the shaft area whenever it's plugged in, since a bumped switch can still engage the motor. Most detachable shafts rinse clean under the tap in seconds, which is most of why I reach for this over the countertop blender in the first place.
If any soup dried onto the shaft threads while you were finishing the meal, a quick soak in warm water for a minute or two loosens it before rinsing, rather than scrubbing at it while the blender is still plugged in on the counter. It's a small habit, but it's the one that keeps this whole process feeling faster than the countertop blender instead of just trading one set of dishes for another.
What Else Helps
A few things outside the five steps above make a bigger difference than people expect. A heavy-bottomed pot with slightly tall, straight sides gives the blade more room to move without splatter compared to a wide, shallow skillet. If you're chasing an extra-silky, restaurant-level texture, especially for things like cream of mushroom or tomato bisque, running the soup through a fine mesh strainer after blending catches any fiber the blade couldn't fully break down, though honestly I only bother with this for company. Roasting vegetables before adding them to the pot, rather than boiling from raw, also concentrates flavor and softens them further, which shows up as a smoother blend later.
Batch size matters too. A hand blender works best in a pot that's at least half full, since a small amount of liquid in a large pot gives the blade less to grab and pulls in more air, which can leave the finished soup a bit foamy. If I'm only making a small batch, I use a narrower, deeper pot rather than my widest stockpot so the blade stays properly submerged the whole time. And if you're deciding between a hand blender and a countertop model for this specific job, I laid out the tradeoffs in more detail in this comparison.
The blade submerged, the pot tilted, sixty seconds of patience. That's the whole trick, and it's not really a trick at all.
Skip the Countertop Blender Next Time You Make Soup
Blend right in the pot you cooked in. Fewer dishes, no ladling hot liquid, and a smoother result than most batches through a stand blender.
Amazon Check Today's Price on Amazon →